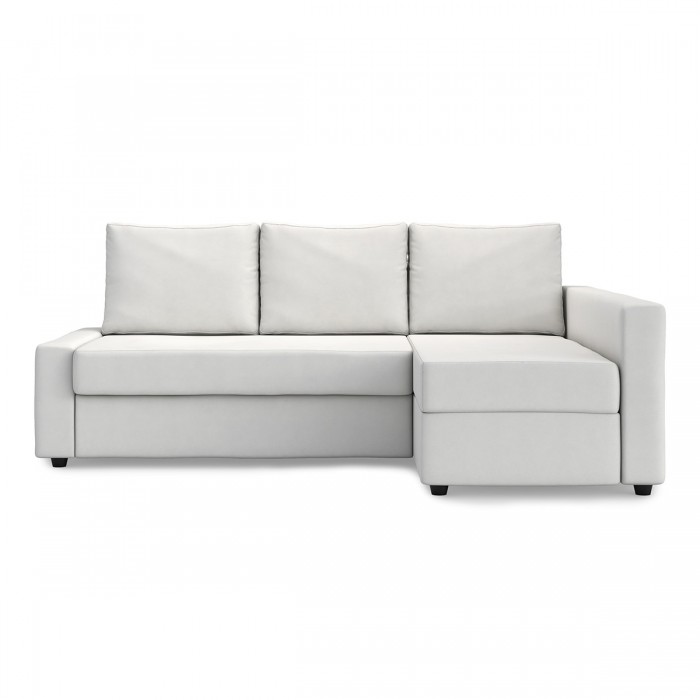
We know… Friheten Sofa Bed can be ungrateful when it comes to dressing the cover. But do not worry, here we are! Actually, here is an instruction. It’s not as bad as it looks.
Before you start, you will need a few tools:
- IKEA Toolbox, tools included in Friheten Sofa set or hex wrench power tool – either will do the job,
- staple gun, this is optional, if you want everything to fit perfectly,
- xacto knife or cutting tool – make sure it is really sharp and does not tear the material.
Once you have all the necessary tools, we can start by disassembling parts of the sofa. At this point, make sure to have a jar or container ready to hold all screws and dowel joints, it’s good to keep them in one place.
TIP 1
Screws to remove:
- right armrest – 2 screws,
- backrest – 4 bolts + 4 pins,
- side – 2 screws.
TIP 2
When putting the sofa vertically, watch out for the chaise lounge opening. It is best to place it against the wall.
TIP 3
Disassemble only the four parts of the sofa – right armrest, left armrest, backrest, and main body along with the chaise lounge – no need to disassemble the main part of the sofa.
This particular model comes with a non-removable cover. You need to put our cover on the original IKEA cover. The only exception is the Velcro piece attached to the front of the chaise lounge. To begin with, prepare all the kit elements received from Masters of Covers.
Time to put the cover on…
- We start with the largest element – the main body with a chaise lounge. All you need to do is put the cover on the appropriate elements and secure them with Velcro from the bottom. Be careful not to pull them too tight and align the seams with the edge of the sofa.
- Place the sofa vertically, and fasten the main body Velcro. Remove the small cover at the bottom of the chaise lounge and put on the new one. Attach all sides to the Velcro. If the cover does not fit perfectly, prepare a Velcro strip in advance. Trim it and attach it to the sofa with a staple gun at the point where the fabric ends and is sticking out.
- Slip the cover on the backrest, stretch it, and fasten the Velcro. Don’t pull it too tight as you will be also making the cuts for the screws.
Make small holes? Pff, easy!
- Use your fingers to feel the hole for the screw and make sure that the seams of the cover are in the right place and that there are no wrinkles. That is why we do not make factory cuts, so you can fit the cover perfectly. Don’t worry about the cuts, they will not deteriorate in the washing machine, provided that you use a sharp knife and do not tear the fabric.
- Locate the spot, mark it and cut it.
- Repeat the action for the remaining elements, that is the second armrest and the backrest. You should have four screw holes on the backrest, four on the small armrest, and two on the large armrest.
Now it’s time to put the sofa together
- Now it is time to put the screws on. We start with the backrest. You will also need to make cuts in two places on the main body. Making cuts on previously applied covers.
- Twist the main body and both armrests together. Tighten the screws inside the chaise lounge, put the sofa in a vertical position, and tighten the two screws from the back and two from the small armrest.
- Now you must slide into the bed compartment, but before that, you need to put a Velcro fastened cover on its front. You slip it in and it’s ready.
- Finally, the pillows. Cushions may be slightly different depending on the country where the sofa was purchased. In some, you put the cover directly on the original cover, in others, you need to disassemble the pillow before putting the cover on.
Easy, right? However, if you are still in trouble (although you certainly did a great job), we invite you to watch the video in which Jim shows step by step and explains how to easily fit a new Friheten sofa cover.
Click here to watch instructions on our YouTube…
And click here to read the instructions with photos!
Dressing the Friheten Sofa Bed
Putting a cover on the Friheten sofa bed requires a careful, step-by-step approach, but the process becomes much easier when done in the right order. Start by preparing your tools and, if necessary, partially disassembling the sofa to gain better access to its structure. The cover is placed over the existing upholstery, so it’s important to position each part precisely and secure it using Velcro where applicable. Taking your time to align seams and edges ensures that Ikea Friheten Covers fit neatly and look professionally installed.
Secure the fit and reassemble with care
Once the main sections of the cover are in place, you can move on to finer adjustments. This includes smoothing out the fabric, securing all fastening points, and making small openings where screws or joints need to go through. After everything is properly aligned, reassemble the sofa by tightening all screws and ensuring that each component sits correctly. A careful finish at this stage guarantees a clean look and long-lasting fit, helping you get the most out of the best couch covers while maintaining both comfort and durability.
FAQ – Ikea Couch Covers
Q: My Friheten sofa has a fixed cover – can I still use an IKEA sofa cover to change its look?
A: Yes – Masters Of Covers offers replacement covers for FRIHETEN that go over the original upholstery. Even if the stock cover is non-removable, their custom Ikea sofa covers are designed to fit precisely and renew the look without needing new furniture.
Q: Do I need tools or disassemble the sofa to put on a new cover?
A: Yes – you will need basic tools available in the original IKEA FRIHETEN toolbox (or a hex wrench), and optionally a staple gun for a snug fit. The process involves removing armrests and the backrest, then reassembling them after fitting the cover. If you don’t want to disassemble your sofa, you can choose Loose Fit cover.
Q: Will installing a new cover for the FRIHETEN take a long time? Is it difficult?
A: The task is manageable – once you remove a few parts (armrests, backrest), you slide on the new cover (main body + chaise, then rest parts), secure it with Velcro, make the necessary small cuts for screws, and reassemble. Many homeowners find it straightforward if they follow instructions carefully.
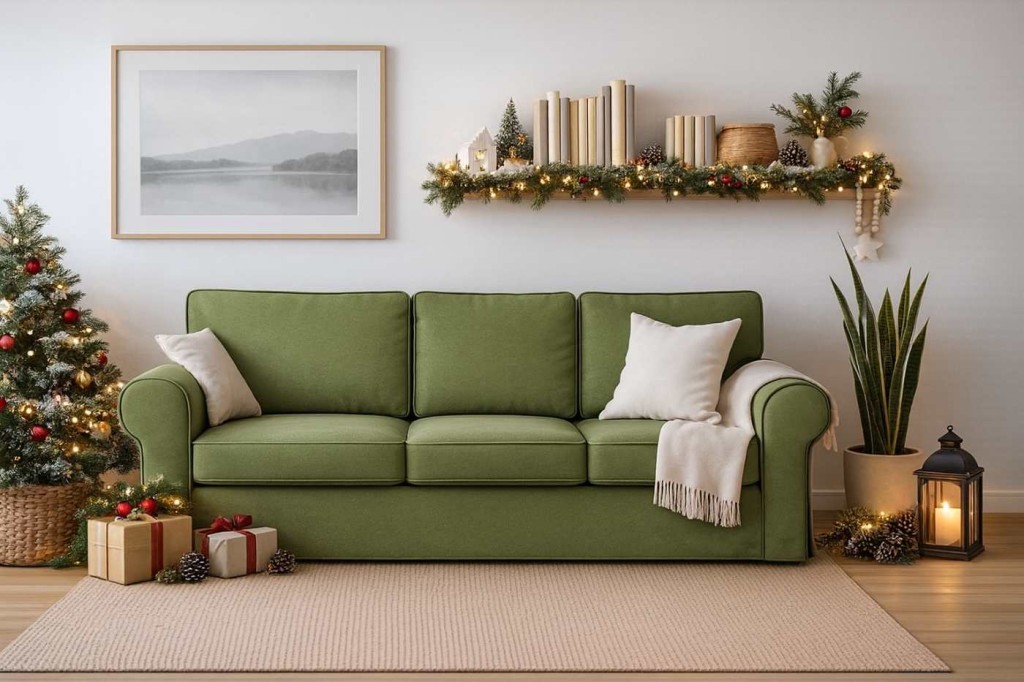
Q: Can using a cover from Masters Of Covers help if I want to refresh my living room style without replacing the sofa?
A: Definitely – an IKEA couch cover is one of the easiest ways to transform your sofa’s appearance. With different colours or fabrics available, you can match the cover to your interior design, give your living room a new look, and extend the usable life of your FRIHETEN.
Q: After fitting a new cover, will the sofa be comfortable and durable, or will it show visible seams or fabric damage over time?
A: When done correctly – using the correct cover, attaching Velcro properly, making screw-holes with a sharp tool (to avoid fabric tears), and reassembling firmly — the sofa remains functional and the cover stays in place. Using an official Ikea slipcover from Masters Of Covers ensures proper fit, which helps maintain comfort and durability long-term.
Order up to 5 free samples. Order up to 5 free samples.